English
Prerequisites
STEP - I
Find and save your MySQL root password somewhere as we will need that later.
cat /root/.my.cnf | grep password | cut -d' ' -f1 | cut -d'=' -f2
Output
[root@cwp ~]# cat /root/.my.cnf | grep password | cut -d' ' -f1 | cut -d'=' -f2
oTBbvCNGYKHg
In my case the password is oTBbvCNGYKHg. It will be different in your case.
STEP - II
Increase max_allowed_packet to 128M or above in file /etc/my.cnf under [mysqld]
nano /etc/my.cnf
Add bellow line under [mysqld] and save
max_allowed_packet=128M
Check if it looks like below
cat /etc/my.cnf
Output
[root@cwp ~]# cat /etc/my.cnf
[mysqld]
max_allowed_packet=128M
Restart Mysql
Centos 6
service mysqld restart
Centos 7
systemctl restart mariadb.service
STEP - III
Install Ruby 2.4.4 using RVM
yum install curl gpg gcc gcc-c++ make
gpg --keyserver hkp://keys.gnupg.net --recv-keys 409B6B1796C275462A1703113804BB82D39DC0E3
curl -sSL https://get.rvm.io | sudo bash -s stable
sudo usermod -a -G rvm `whoami`
source /etc/profile.d/rvm.sh
rvm requirements
rvm install 2.4.4
rvm use 2.4.4 --default
STEP - IV
Install ElasticSearch
rpm --import https://artifacts.elastic.co/GPG-KEY-elasticsearch
echo "[elasticsearch-5.x]
name=Elasticsearch repository for 5.x packages
baseurl=https://artifacts.elastic.co/packages/5.x/yum
gpgcheck=1
gpgkey=https://artifacts.elastic.co/GPG-KEY-elasticsearch
enabled=1
autorefresh=1
type=rpm-md"| sudo tee /etc/yum.repos.d/elasticsearch-5.x.repo
yum install -y java-1.8.0-openjdk elasticsearch
sudo /usr/share/elasticsearch/bin/elasticsearch-plugin install ingest-attachment
Start and Enable ElasticSearch
Centos 6
service elasticsearch start
chkconfig elasticsearch on
Centos 7
systemctl start elasticsearch.service
systemctl enable elasticsearch.service
Install Zammad
STEP - I
This installation is done for MySQL
useradd zammad -m -d /opt/zammad -s /bin/bash
sudo usermod -a -G rvm zammad
cd /opt
wget https://ftp.zammad.com/zammad-latest.tar.gz
tar -xzf zammad-latest.tar.gz -C zammad
chown -R zammad:zammad zammad
su - zammad
gem install bundler
bundle install --without test development postgres
STEP - II
Configure Datatabse
cp config/database/database.yml config/database.yml
Edit MySQL Database. Uncomment #### mysql config ##### part and add your MySQL root login
Under Prerequisites (STEP - I) we saved MySQL root login
nano config/database.yml
Find
#### mysql config #####

# adapter: mysql2
# username: zammad
# password: <password>
Change to
#### mysql config #####

adapter: mysql2
username: root
password: oTBbvCNGYKHg
STEP - III
Initialize your database
export RAILS_ENV=production
export RAILS_SERVE_STATIC_FILES=true
rake db:create
rake db:migrate
rake db:seed
rake assets:precompile
STEP - IV
Change to Root and setup Zammad Services
su - root
Centos 6
cp /opt/zammad/script/init.d/zammad /etc/init.d/zammad
service zammad start
Centos 7
sh /opt/zammad/script/systemd/install-zammad-systemd-services.sh
systemctl start zammad.service
Now we have Zammad running on our server with port 3000
STEP - V
Setup Apache Virtual Host
Replace zammad.cwp.com with your Domain name.
Copy and paste all lines not one by one.
cat > /usr/local/apache/conf.d/zammad.conf << "EOF"
<VirtualHost *:80>
# replace 'localhost' with your fqdn if you want to use zammad from remote
ServerName zammad.cwp.com

## don't loose time with IP address lookups
HostnameLookups Off

## needed for named virtual hosts
UseCanonicalName Off

## configures the footer on server-generated documents
ServerSignature Off

ProxyRequests Off
ProxyPreserveHost On

<Proxy localhost:3000>
Require local
</Proxy>

ProxyPass /assets !
ProxyPass /favicon.ico !
ProxyPass /robots.txt !
ProxyPass /ws ws://localhost:6042/
ProxyPass / http://localhost:3000/

DocumentRoot "/opt/zammad/public"

<Directory />
Options FollowSymLinks
AllowOverride None
</Directory>

<Directory "/opt/zammad/public">
Options FollowSymLinks
Require all granted
</Directory>

</VirtualHost>
EOF
Restart Apache
service httpd restart
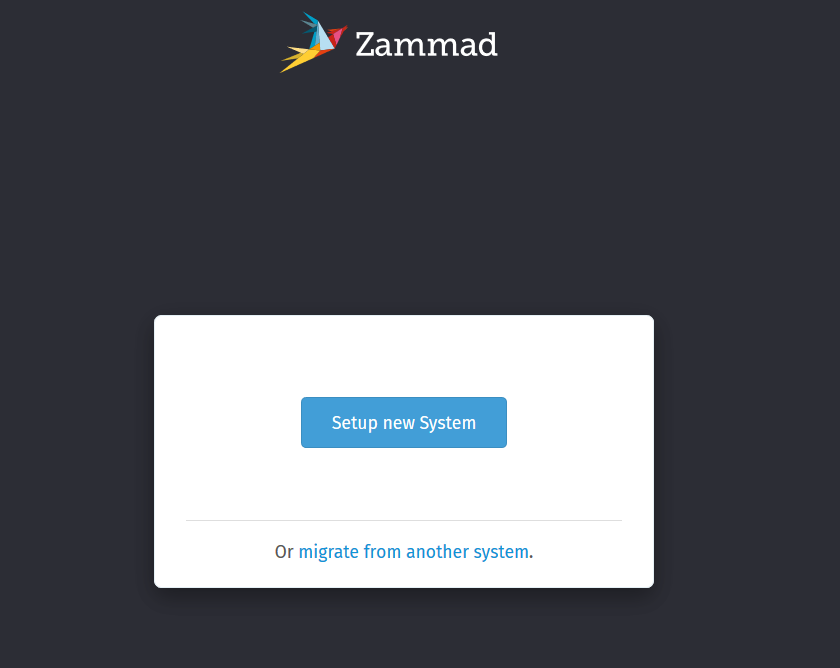
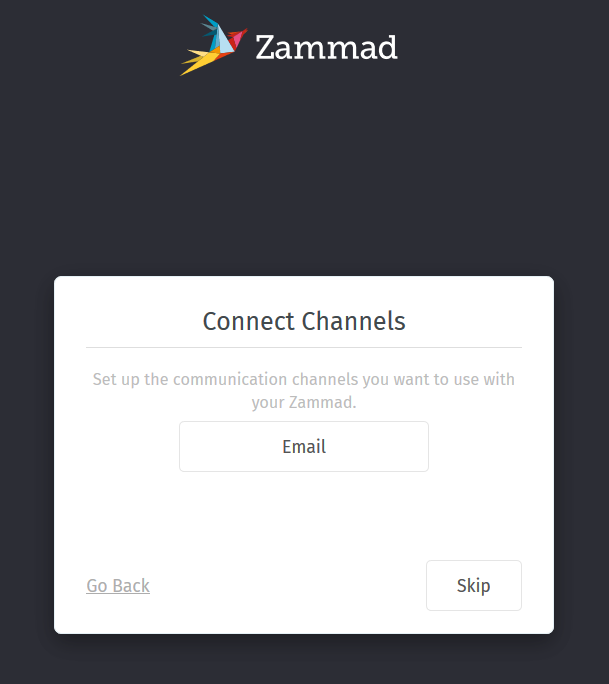
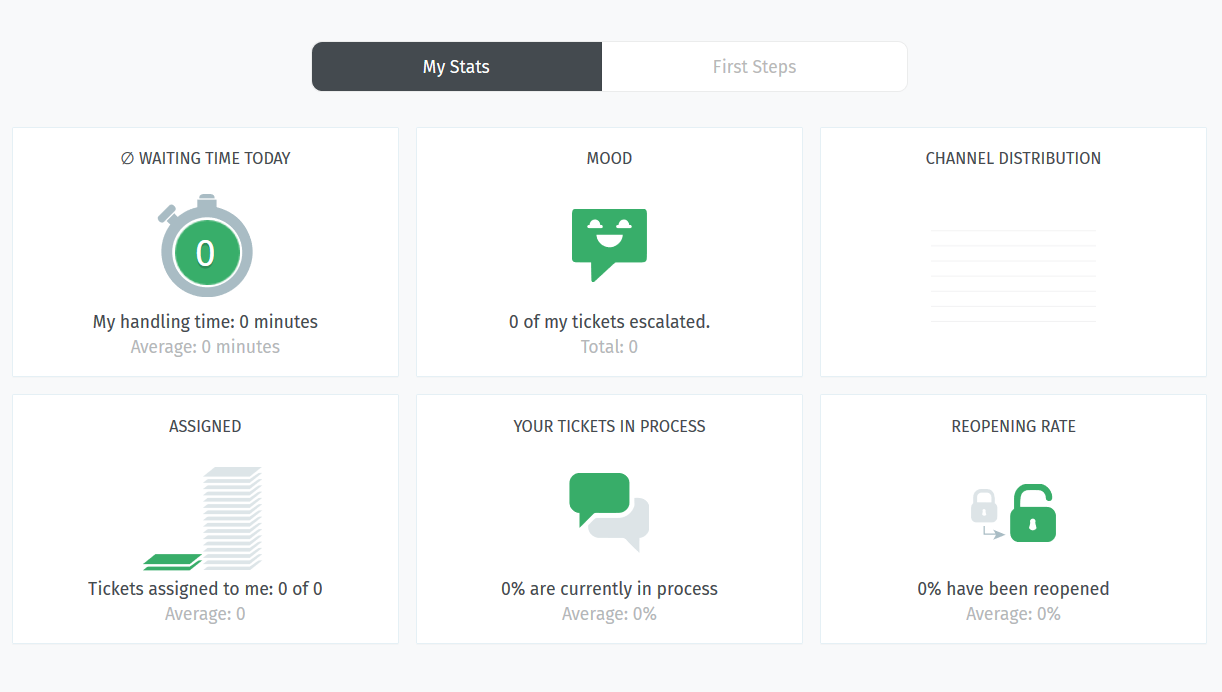
Now you can access Zammad with your domain name.